Personal portfolio website with endurojs
Friday, 24 February, 2017
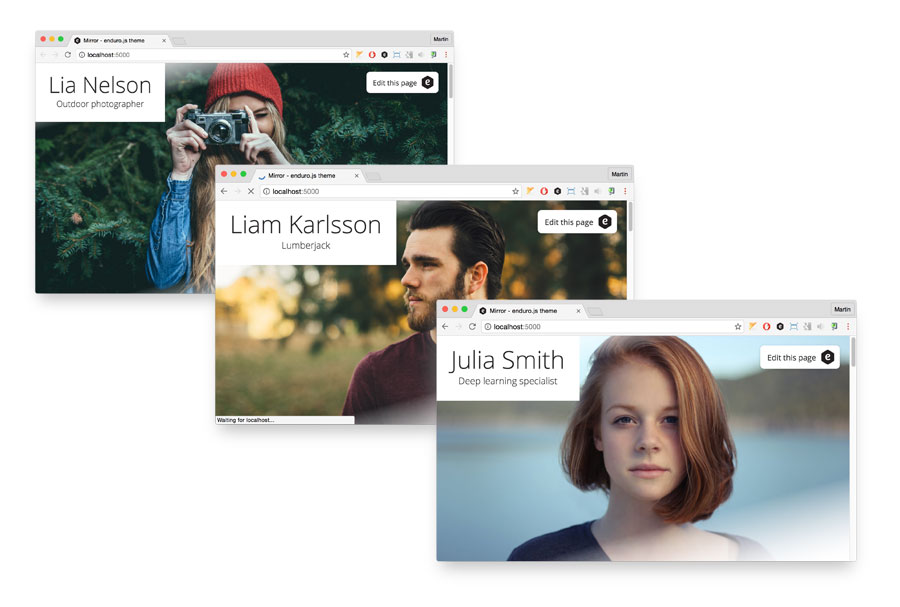
Whether you are a freelancer, photographer or maybe just looking for job, having a personal portfolio website can’t hurt, can it? I will try to walk you through creating your own personal portfolio in under 5 minutes. No javascript/html/css knowledge necessary!
Prerequisites
You have to have node.js installed with enduro.js installed globally (just run npm i enduro -g).
Creating new project
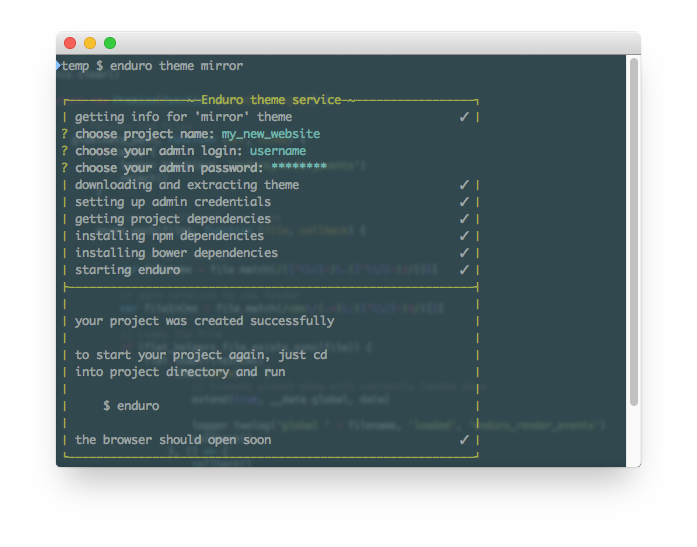
Next up, we are going to create a new project from an mirror theme. Open up your terminal window, cd into the directory where you would want your project to be stored in and run:
$ enduro theme mirror
You will be asked to provide a name for your portfolio as well as a admin login username and password.
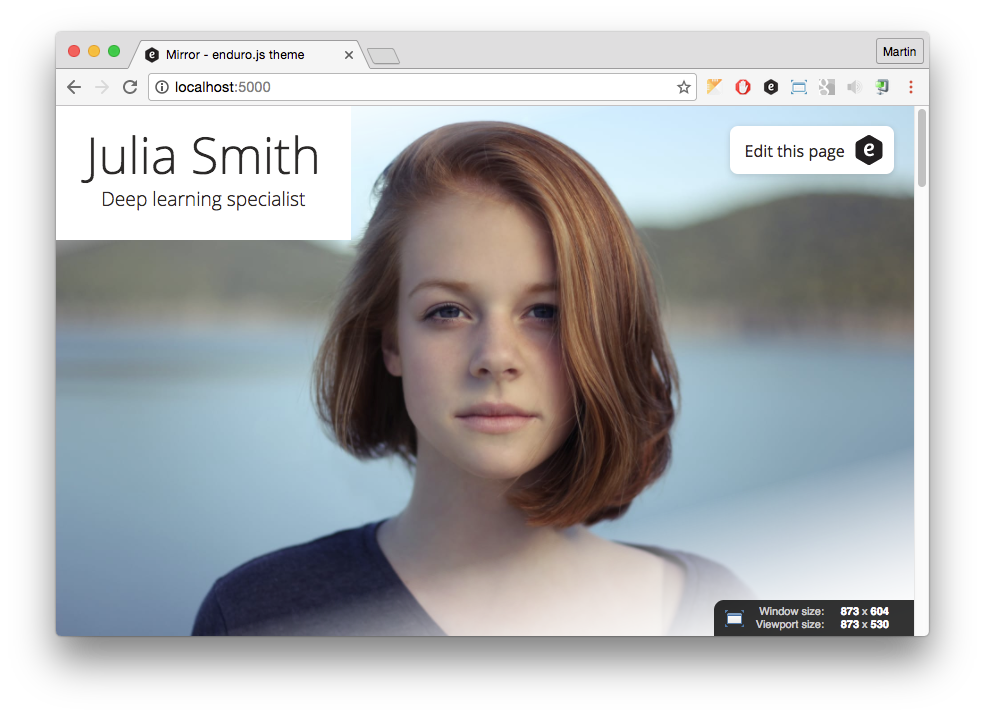
Once your project is created, a browser window opens automatically! To edit content just click the edit this page button.
Access admin interface
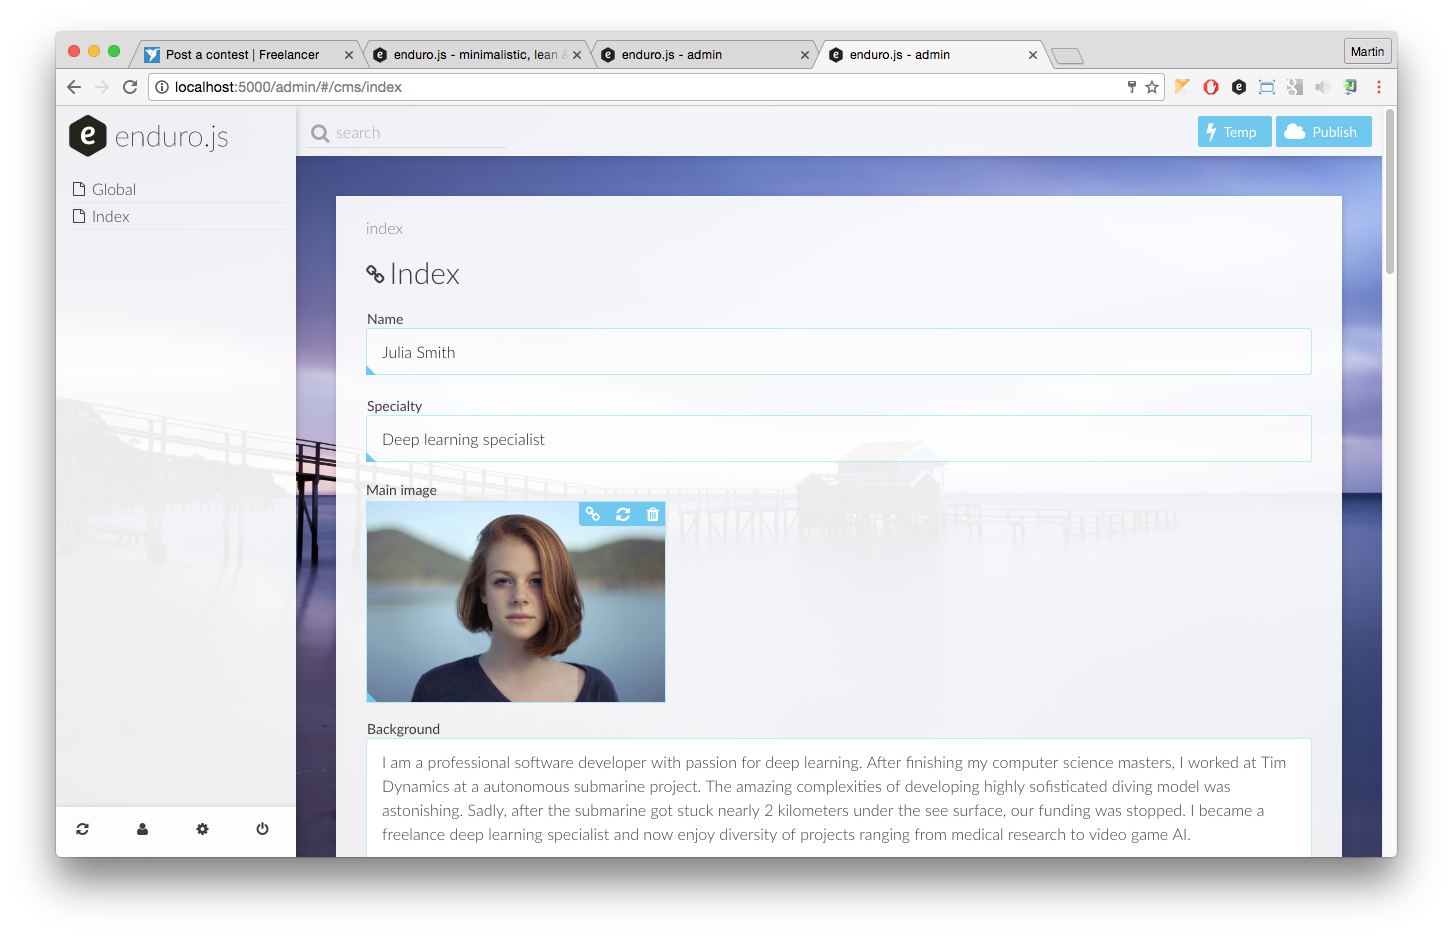
Clicking the edit this page button will open the enduro.js admin interface. Just login with the credentials you’ve put in previously in the terminal window.
Changing content
Using the admin interface is quite self-explanatory. You can copy-paste images by clicking the image or just putting public links to the images by clicking the link icon. You’ll get it.
Publishing your website
If you open the folder where you created this project just find a /_generated folder. Just upload this whole folder somewhere and your website is online!
![]()
Publishing your portfolio with Netlify
Netlify offers probably the simplest way to get your portfolio online. Good news is that the mirror theme comes preconfigured to work with Netlify out of the box. Just install netlify cli by running npm install netlify-cli -g. After that all you need to do is enduro render && netlify deploy -p _generated. You can also hook it up to a GitHub repository – read more about this in the docs.
Publish your portfolio on Github pages
Github pages offers a free way to host your static page. For this to work you have to put the generated files in a gh-pages branch.
You can just use github’s website user interface to upload the files from the /_generated folder. Other option is to use git to get this done. Follow this instructions to get your enduro.js generated personal portfolio online with Github pages:
- Sign up for a free Github account if you don’t already have one
- Create new repository on github.com and copy its .git link
- Use the terminal to cd into the project’s folder and do
git init,git add .andgit commit -m 'first commit' - Link your folder with Github’s repository by running
git remote add origin <.git link you got from github> - Put the files on Github by running
git push --set-upstream origin master - Now all the source files are on Github, but we need to push the generated files into a separate branch named gh-pages, which Github recognizes and serves as a static page.
git checkout -b gh-pagesgit add -f _generatedgit commit -m 'publishing gh pages'git push --set-upstream origin gh-pagesgit push origin $(git subtree split --prefix _generated):gh-pages --force
If everything went well, your portfolio should be live at https://<your_github_username>.github.io/<project_name>/